Import / Export
The Import / Export page lets you move data in and out of the Portal in bulk — handy for setting up, migrating old records, or taking a copy for your own records.
In the menu, open Import / Export. You'll see two choices: Import Data and Export Data.
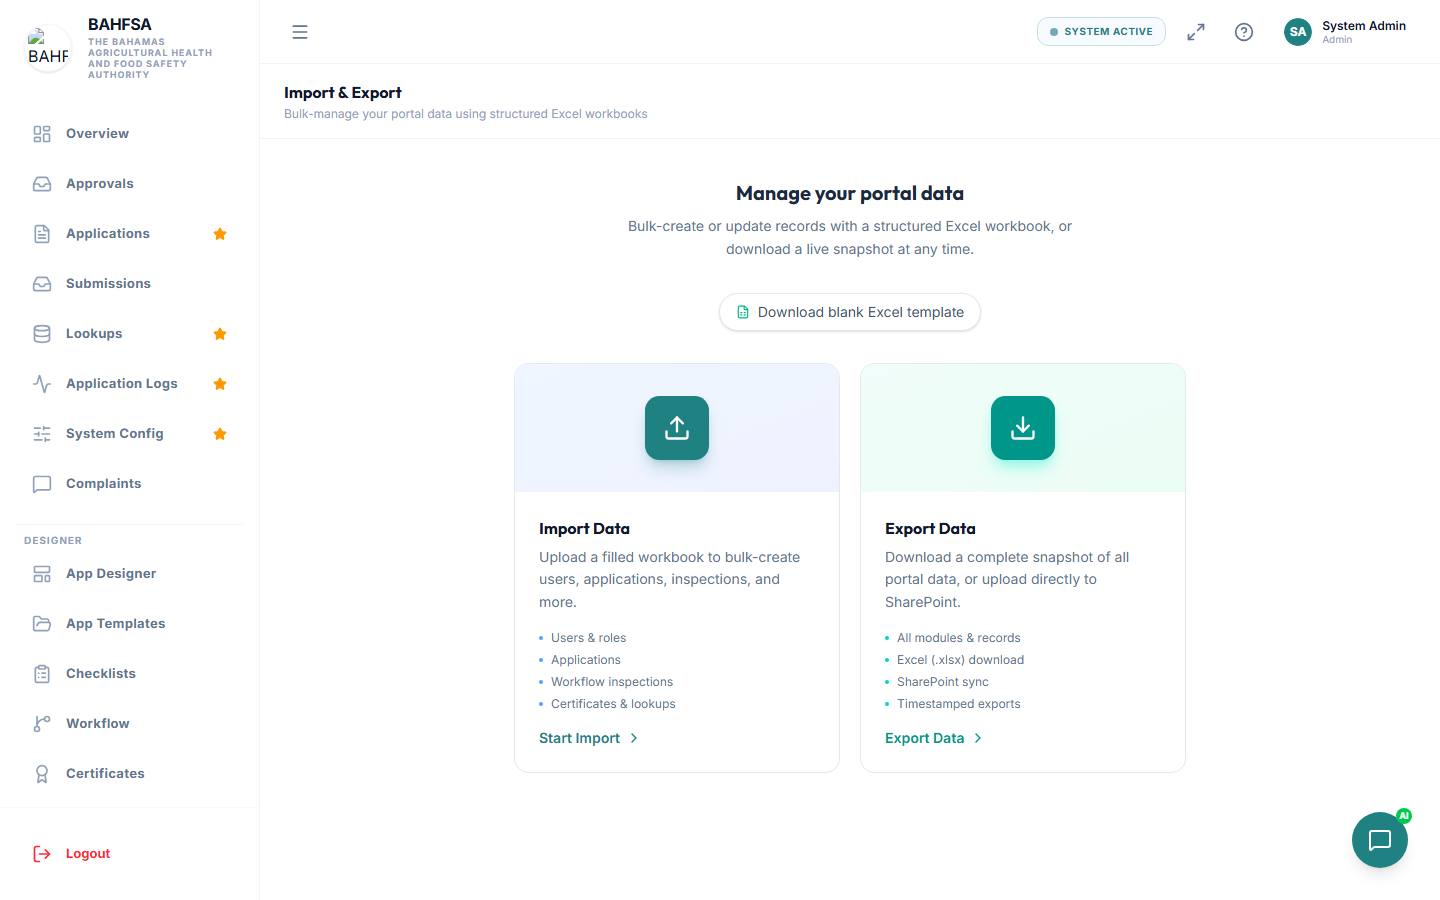 Choose to import data from a spreadsheet, or export your data.
Importing data
Use this to add many records at once from a spreadsheet.
- Download the template — an Excel file with the correct columns and a sheet for each type of data.
- Fill it in with your records.
- Upload the completed file.
- The Portal checks it and shows you, sheet by sheet, how many rows are valid and flags any errors.
- Once it looks right, import the valid rows.
:::tip Fix errors before importing If a row is flagged with an error, correct it in your spreadsheet and upload again. Only valid rows are imported. :::
Exporting data
Use this to get a copy of Portal data.
Download as Excel
Choose Download Excel to save a spreadsheet of your data to your computer. It uses the same layout as the import template, so an export can later be re-imported.
Send to SharePoint
You can also send the exported file straight to a SharePoint document library:
- Select the SharePoint option.
- The first time, open the settings (gear icon) and enter your SharePoint site address, the folder to save into, and an access token.
- Select Upload — the file is saved to SharePoint.
:::note About the SharePoint connection The access token is provided by your SharePoint/Microsoft administrator and expires after about an hour, so paste a fresh one before exporting. Your SharePoint administrator may also need to allow the Portal's website to connect. If uploads fail, that's the first thing to check. :::