Building Workflows
A workflow is the set of steps an application goes through from start to finish — who reviews it, what happens if it's approved or rejected, when an inspection happens, and when a certificate is issued. You design this visually on a canvas.
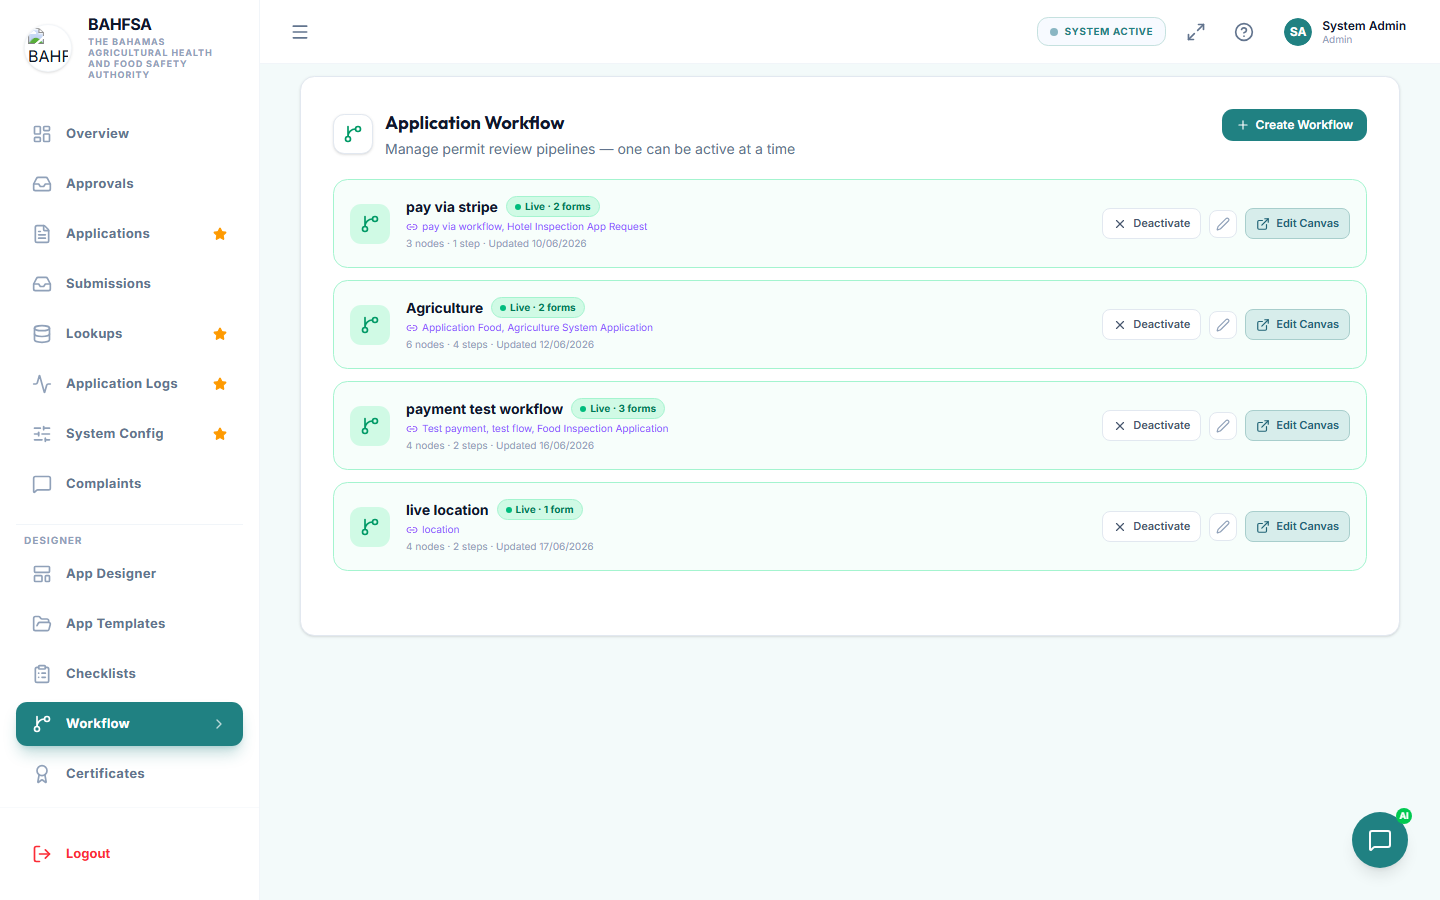 The workflow designer — build the journey by adding steps and connecting them.
Open the workflow designer
In the menu, open Designer → Workflow. You'll see your saved workflows. Create a new one, or let AI generate a starting workflow from a short description.
Build it on the canvas
A workflow is a diagram you build by adding boxes (steps) and connecting them with lines:
- Start — where every application begins.
- Step — a point where someone acts. For each step you choose:
- Who handles it (for example, a Manager).
- What kind of step it is — a review/approval, or assigning an inspector.
- What happens next if it's approved, and what happens if it's rejected.
- Optionally, a checklist to attach at that step.
- Certificate — marks where a certificate is issued.
- End — where the workflow finishes.
Connect the boxes in the order you want things to happen.
Send emails along the way
Any step can also send an email when an application reaches it. Select a step, open its Send email panel, and choose:
- Which email template to send (see Email Templates).
- Who receives it — the applicant, the assigned inspector, everyone in a role, or a fixed address.
- Whether to attach the certificate (useful at the end).
Save and turn it on
- Save your canvas.
- Activate the workflow to make it the one in use.
Only one workflow is active at a time, and it governs new applications. Activating it sets up all the steps and emails you designed.
Connect it to a form
To feed citizen submissions into this workflow, link it from a form — see Designing Forms. After linking, every form submission starts the workflow automatically.
Test it
Submit a test application and follow it through:
- It should appear in the right person's Approvals queue.
- Approving each step should move it along.
- At the end, the certificate should be issued and any emails sent.
:::tip Keep it simple to start Begin with a short workflow (submit → review → approve → certificate) and add steps once it's working. You can always refine it later. :::